A lot of video recording devices (dash cams, drones and action cameras such as GoPro) now also record a range of metadata along with the video file, such as spatial information that we can use to locate the video and incorporate it into a Geographic Information System, or GIS.
In this blog series we’re sharing our progress on an innovation project that looks at using video data captured by a variety of devices within the ArcGIS platform.
In the first blog we looked at an example of how dash cam videos can be imported, shared and used in the ArcGIS platform. We also looked at how video metadata can be extracted and used in an application to extend the capabilities and do more advanced tasks. Missed the first part of the series? Check it out here.
In this, the second part of the blog series, we will look at how we can use drone videos in the ArcGIS platform.
Introduction
Our specific challenge was to be able to visually compare drone-acquired video data for the same flightpath from multiple dates. To develop this workflow, we flew a drone survey over a pre-defined flightpath on two different occasions. We then developed a custom Web AppBuilder application to play both videos side-by-side, along with a map showing the drone location.
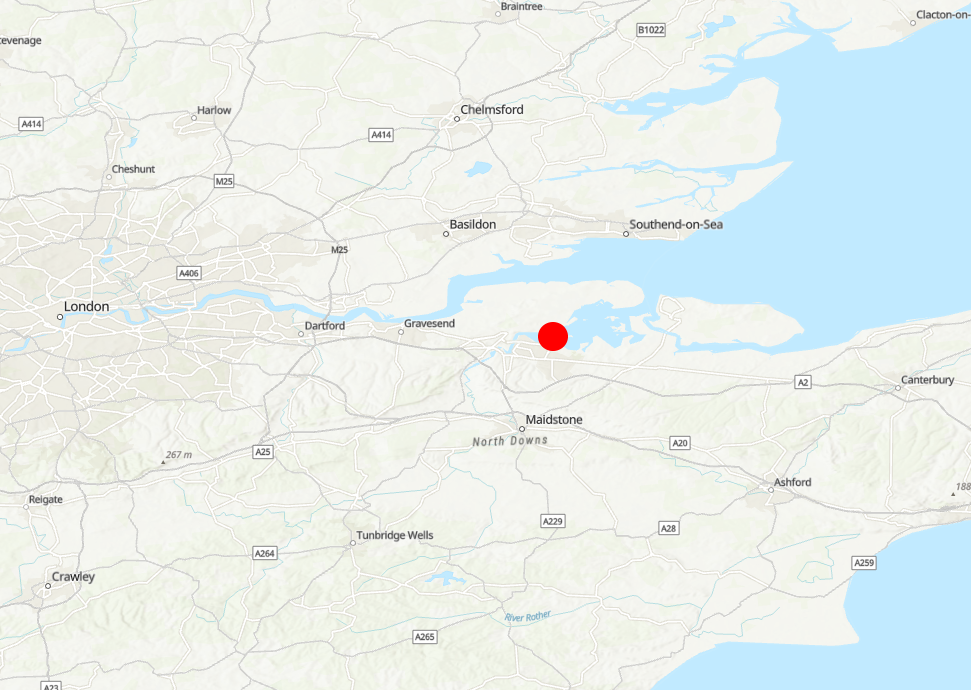
For our example we picked a convenient coastline location in the UK where the tide difference can be up to 5 meters. We flew the first round at low tide and the second round a few days later at high tide. The drone followed the exact same pre-defined flight path both times, allowing us to compare the two videos.
Our drone
We used the same ‘Mavic 2 Pro’ drone as we used in our blog series ‘Building a Digital Twin within the ArcGIS Platform’. The pre-defined flightpath was created using the Litchi App.
Drone metadata
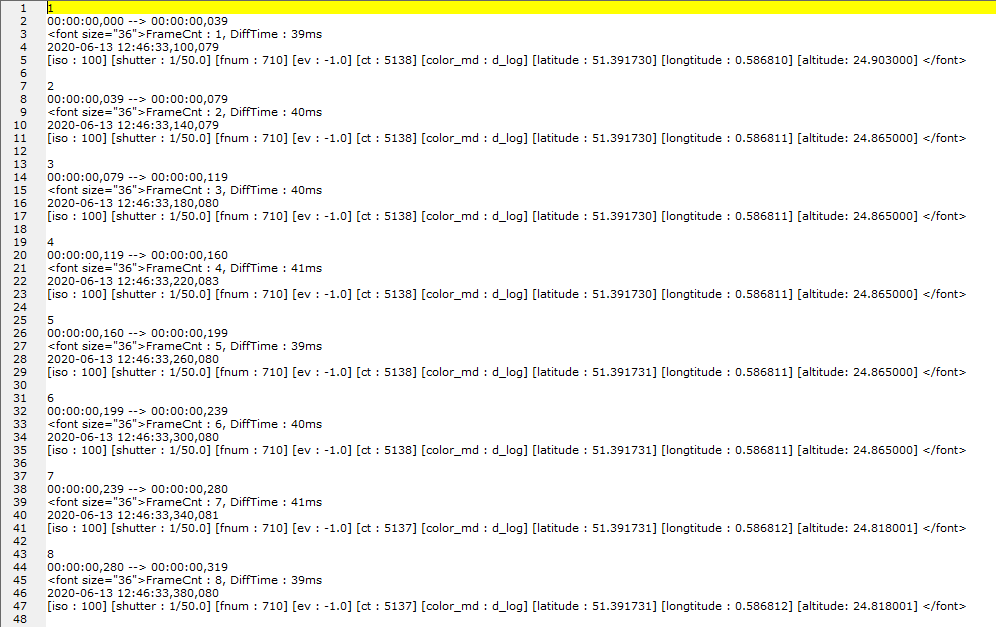
By default, the setting to record the coordinate information is switched off but once enabled on the drone, the metadata is recorded to an SRT file along with the actual video file.
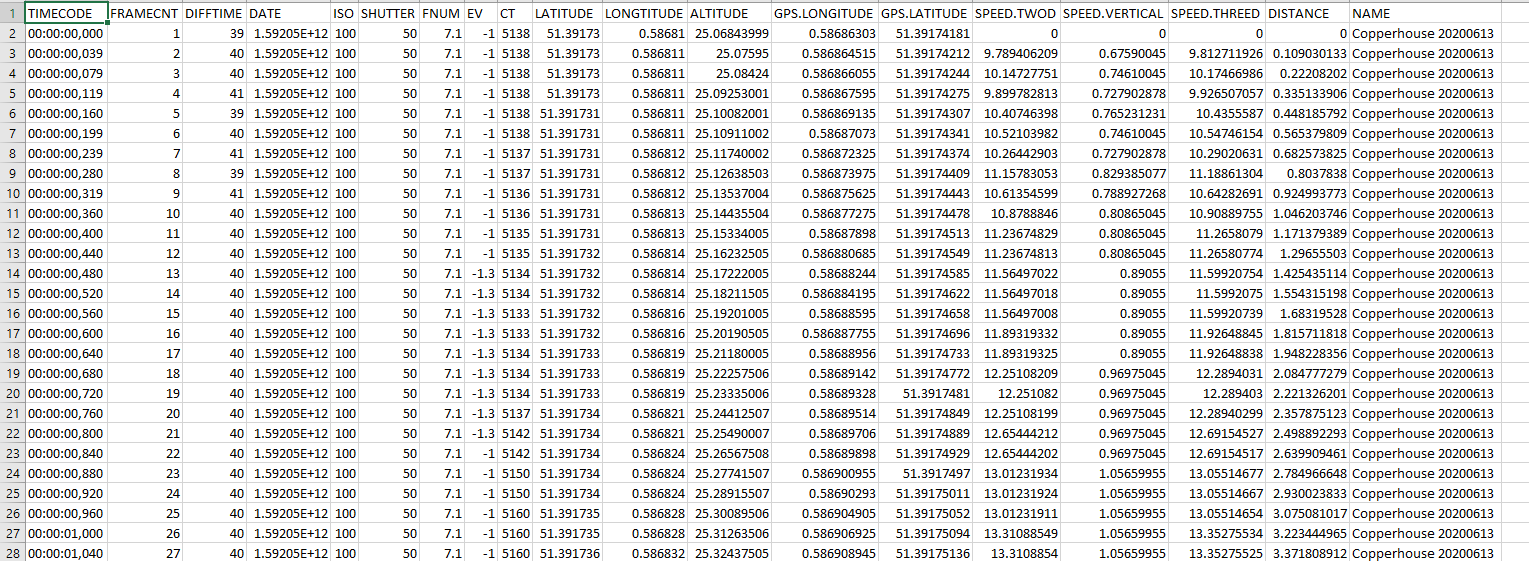
The SRT file is a text file which can be processed and exported to an CSV file using this free online tool.
Importing the video metadata to ArcGIS Pro
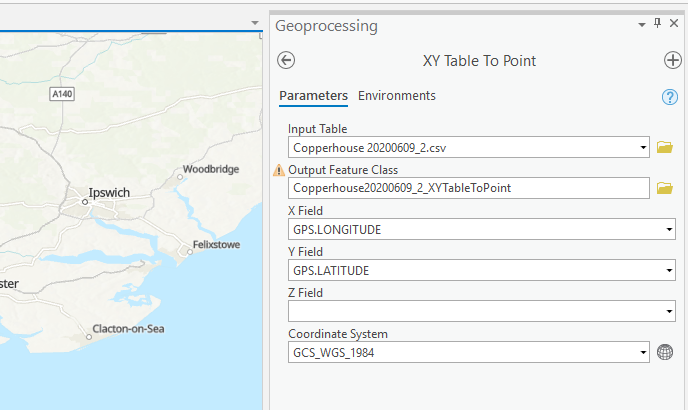
Just like we did in the previous dash cam blog we can simply import the video metadata CSV file in to ArcGIS Pro using the out–of–the–box XY Table To Point tool to create a FeatureClass point layer.
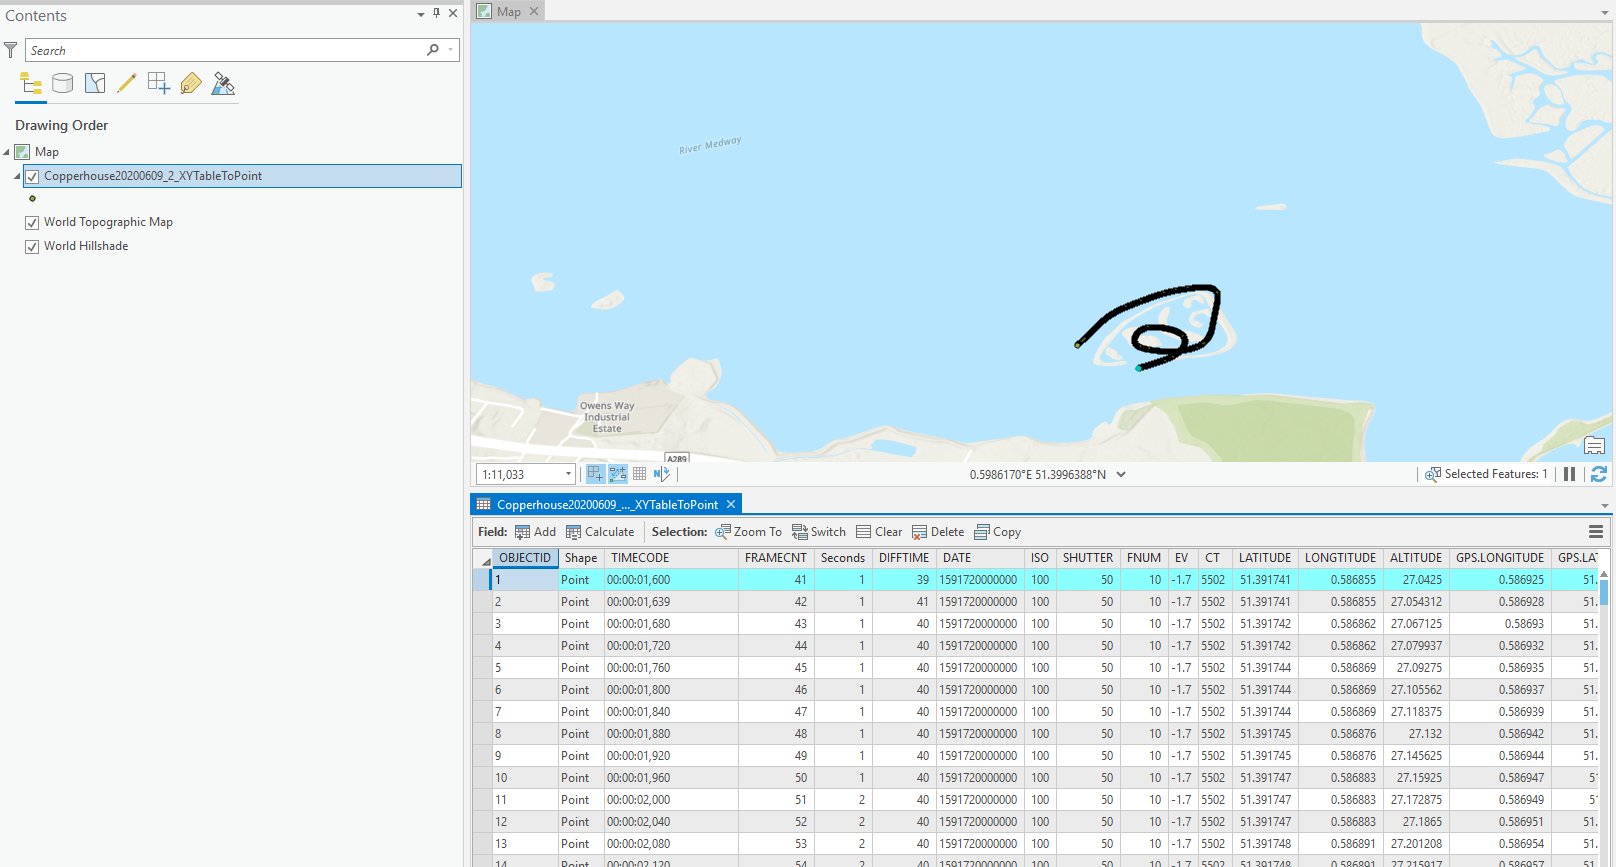
Once imported, we have the drone video metadata stored in a point FeatureClass which displays in ArcGIS Pro including the metadata for each of the video points:
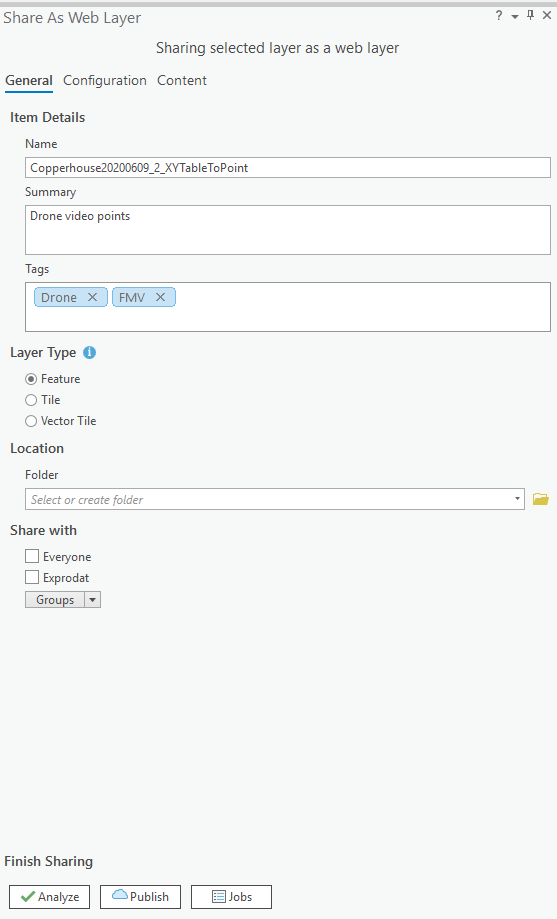
The next step in this process is to share this point layer as a Feature Layer in ArcGIS Online (or Enterprise) so that we can use it across the platform. We share this layer using the out–of–the–box Share As Web Layer tool.
As both videos are flying along the exact same flightpath, we only need the metadata from one of the videos for the next step.
Automating the process
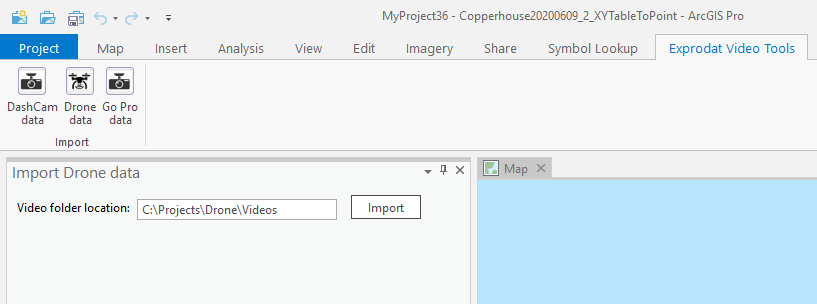
If you read the previous blog about the dash cam you can see that the steps we take to process the video metadata are very similar. Just like with the dash cam videos we can automate this process so that you select the folder containing the drone videos and it then extracts the metadata, creates the point feature class and shares those automatically. So, we extended the ArcGIS Pro Add–in we developed for our dash cam videos to also support our drone videos.
Web AppBuilder application widget
With the video metadata from the one of the drone videos published as a feature layer in ArcGIS Online we can use it across the ArcGIS platform. So, we can now use this metadata in combination with the two video files to create a Web AppBuilder widget that plays both the videos at the same time as the location is displayed on the map.
Just like the dash cam custom widget we are using the HTML5 video player to play the video files and then we are syncing the location on the map with the current frame of the video. The actual video files are stored on a webserver.
The marker on the map displays the drone location, the top video is from when the tide is in and the bottom video is from when the tide is out. This allows the user to view videos from different times but over the exact same flight path.
Here is a video that shows the application:
Conclusion
In this blog post we looked at how we can use videos from a standard drone, extract the metadata information, create GIS layers which can then be shared across the ArcGIS Platform as services. We have also seen how we can use this data within custom web application that allows the user to compare multiple videos recorded at different times in the same application.
What’s next?
In the next blog in this series we will look at GoPro videos and how they can be used in the ArcGIS platform.
Posted by Erik Nyberg, Senior GIS Developer.
