This training tip follows on from our previous blog “Top 10 ArcGIS Printing Checks“, and introduces some of ArcGIS 10.1’s dynamic legends capabilities.
The problem
You’ve got a good map, but your legend is stopping it from being a great map:
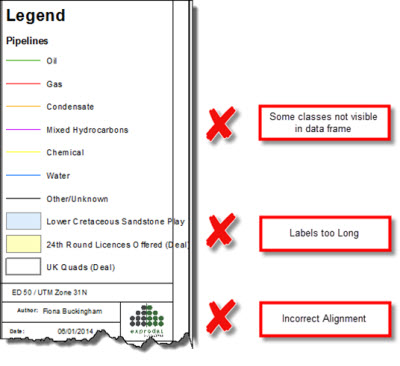
In older versions of ArcGIS, you could either put up with the deficiencies, or spend time manually adjusting your legend – reducing the font size to fit the labels in (but making them too small to read); converting the elements to graphics, allowing you to amend them (but losing their dynamic link with the data).
The solution
ArcGIS 10.1 provides a suite of legend formatting capabilities that allow you to easily create accurate and attractive legends.
Labelling
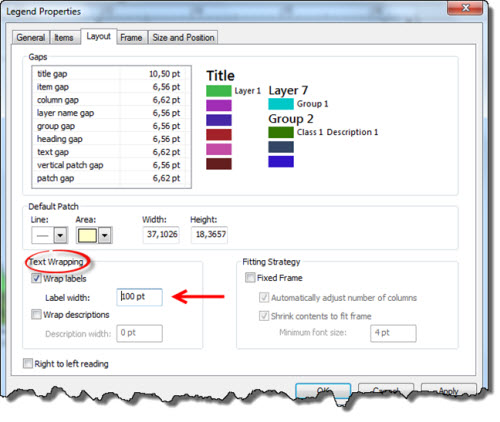
If your labels are too long, you can ‘wrap’ them: right-click the legend and open up the Legend Properties dialog, then select the Layout tab. Under the Text Wrapping section tick the box for Wrap Labels, and then type in the width you want for your label (and the width for the description, if displayed). Applying this setting will cause the labels for each feature to be wrapped so the width you’ve specified is never exceeded.
Visible features
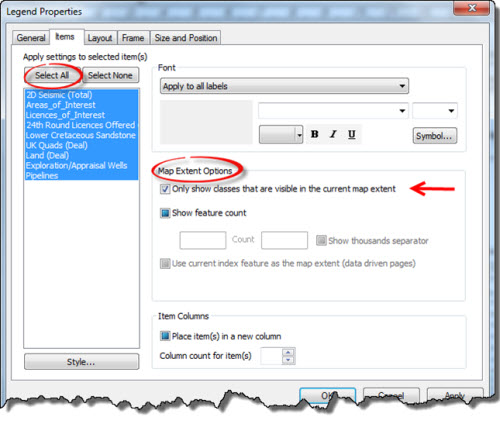
A legend should only show relevant information – you don’t want to show items in the legend if they are not shown on your map. ArcGIS 10.1 introduces a handy option to allow your legend to only show the classes that are visible in the current map extent. For example, you might have a pipeline layer in your map which has many pipeline types, only a few of which are actually displayed in the map that you’re creating – using this option will remove the pipelines types that aren’t in the map from your legend, making it shorter and more accurate.
To enable this option select the Items tab within the Legend Properties, click Select All to select all the layers in the legend, tick the Only show classes… option in the Map Extent Options section, and then finally click Apply. Note that there is an additonal option that allows show a count of the features shown in your map to be displayed in the legend.
Alignment
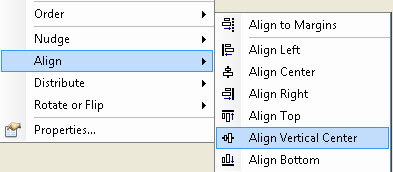
To correctly align the items of your legend, select the desired items, then do either of the following:
- Right-click and choose the Align option from the context menu.
- Snap your features to a guideline – you create these by clicking on a specified place along the ruler.

Note that depending on your needs, you may find that you need to convert grouped legend items to graphics, then ungroup them, so that you can select only those items that you want to reposition.
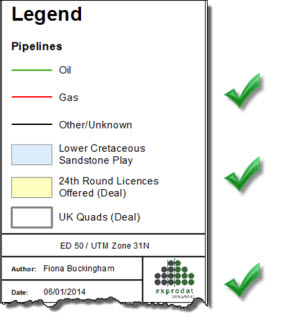
The Result
A clear, easily understood and neat legend!
![]() Watch this blog as a video: Improving the Appearance of Legends in ArcGIS
Watch this blog as a video: Improving the Appearance of Legends in ArcGIS
Posted by Fiona Buckingham, GIS Trainer, Exprodat.


